Can I install my robotic lawnmower myself?
09.06.2023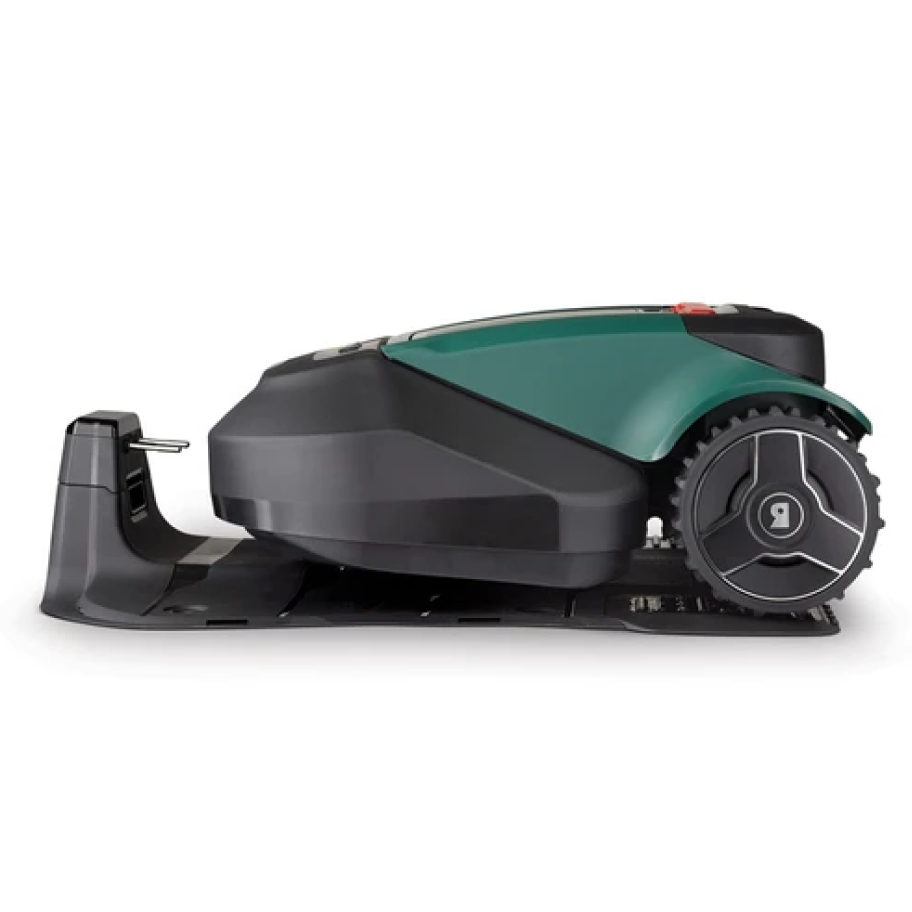
Before the new robotic lawnmower is put into operation for the first time, it has to be installed. The basic principle of a charging station and a perimeter wire are quite simple, but there is also the potential for error. After all, the new garden helper needs to know which areas it should mow, what times, how often and in what way. This setup takes a little time but also saves you the cost of an installation service. Although garden owners can be put off by the installation of their robotic lawnmower, it‘s really not too difficult.
Before your new garden helper can tirelessly make his rounds, a one-time installation is necessary. Ultimately, a robotic lawnmower needs clear instructions as to when and how the lawn should be mowed. Above all, it’s important to set perimeters in order to avoid your robot crossing into your neighbour‘s lawn or flower beds. This initial installation involves a few hours' time and can be done quite conveniently through a service from the manufacturer. However, it is cheaper to simply install the robotic mower yourself.

Installing the robotic lawnmower yourself - this is how it's done!
The installation of a lawn robot is rather easy to do with minimal technical skills. The required materials are usually included in the scope of delivery, so you can directly start with the installation.
Scope of delivery of the robotic lawnmower
While a robotic lawnmower without a boundary wire only has a charging station and is thus immediately ready for use, a robotic lawnmower with a boundary wire logically has the wire for demarcating the lawn, the charging station and, if necessary, a guide wire. In addition, the device must be programmed via the display, Bluetooth or a web app before the first mow.
With many models, the parts needed for installation and operation, such as boundary wire and mounting hooks, are already included or can be easily purchased as an option. This is especially necessary if the lawn is very angled. Therefore, it may require an above-average number of meters of wire beyond the supplied amount.
Other tools that are helpful during installation but are not included in the scope of delivery are as follows:
- a lawn edger
- a rubber mallet
- an Allen wrench
- a pair of metal pliers
Once you have everything ready, you can also get started with the installation right away.
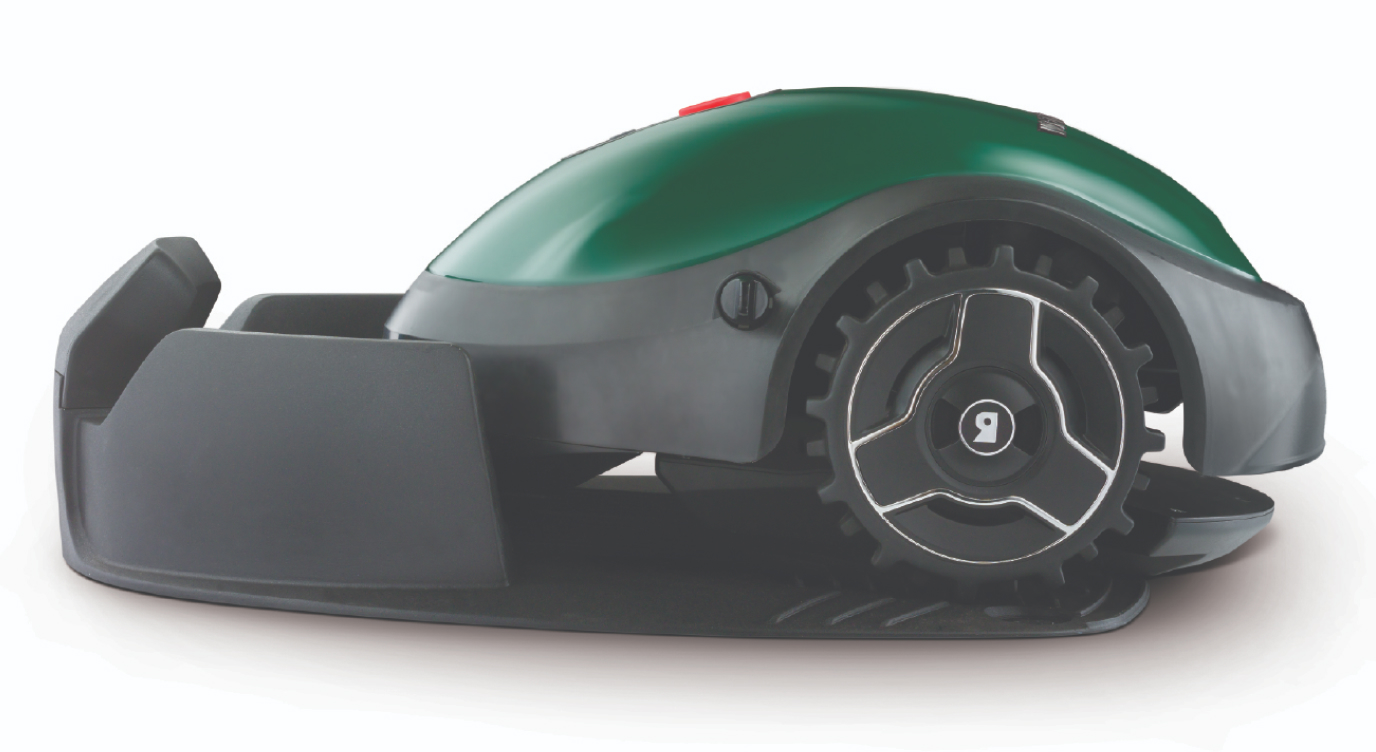
Placing the charging station
The first question is where to place the charging station. This should be as freely accessible as possible, located at the edge of the lawn (but not outside it and still central) and no further than 15 meters from a power outlet. Ideally, there should be about 3 meters of space around the charging station so that you can later route the perimeter wire away from and back to the station at a right angle.
A place that is protected from rain and sun is also recommended. Otherwise, the battery could overheat. If there is no option for a shady area, it is advisable to purchase a robot garage that helps protect the device from the elements when at rest.
Even if your robotic lawnmower can easily handle grades of up to 45%, the charging station should always be placed on level ground. Accordingly, select a level surface that is not surrounded by slopes in order to help avoid problems during approach and docking.
For further installation, follow the manufacturer's instructions for connecting the charging unit to the base plate and connecting the power supply.
Attach the charging unit to the ground only after the perimeter wire has been laid so that the robotic lawnmower does not come into contact when driving over it. The front edge should still be on the lawn surface, while the rear edge can be placed outside.
Laying the perimeter wire
The perimeter wire forms an induction loop that uses a magnetic field to communicate with the robotic lawnmower the area within which it should move. Flower beds or a garden pond can also be easily protected in this way. Laying the perimeter wire starts at the charging station and should be well thought out to help prevent time-consuming corrections later.
The careful planning of laying:
Plan your layout carefully, as the wire should not cross at any point. Run it clockwise or counterclockwise around the lawn and tie in beds from there by pulling the wire across the lawn, circling the bed and running the wire back to the edge parallel to the outbound run. This is especially relevant if islands in the center of the lawn are accessed from the edge. In addition, there is a risk that other robotic mower signals could interfere with yours. Fortunately, it is possible to adjust the frequencies afterwards. Also, pay meticulous attention to the distances to the lawn edge to help provide a clean edge cut and help to avoid interference from power cables.
Things get more complicated if you want to incorporate separate zones. If there is a thoroughfare, it is recommended to simply tie in the zones. Otherwise, it makes sense to have two separate circuits, which you can link with a signal transmitter or, in the case of large areas, add a second charging station.
The distance to flower beds and lawn edges should be even so that the robot does not mow too far into the bed or drive into an unbounded garden pond. To help avoid this, a distance ruler is included with the robotic lawnmower. You do not need to mark trees or other larger obstacles as well as beds equipped with mechanical barriers.
To help prevent the robot from bumping into tight angles and having to turn around, lay the wire at a slight curve. This way, the device can easily follow the wire and mow the garden with minimal interruption.
Connect each of the two ends of the wire to the charging station. Usually, a function light indicates if the wire is properly connected and the loop is closed.
Laying the Perimeter Wire Above or Below Ground
Before laying the boundary wire, mow the lawn as short as possible. This will help make the subsequent laying easier. Then you will have the option of either laying the wire above ground and fastening it with the lawn hooks provided or using a lawn edger to make a small furrow and place the wire under the turf. This will help prevent you from damaging the cable later when dethatching. In both cases, the cable should be pulled taut. To do this, use a lawn hook about every 50 cm when laying the cable above ground or a shorter distance on smaller passages.
Above-ground laying is somewhat more prone to errors, but is much faster and offers more flexibility when redesigning the garden. One certain advantage is that repairs are more convenient, since cable breaks are often visually recognizable, and the cable does not have to be dug up.
Laying the guide wire
Some robotic lawnmowers also have a guide wire that is laid across the garden. This is intended to help the robotic lawnmower find the charging station quickly when the battery power is running low. In addition, the guide wire can also serve the function of different starting points. The guide wire should initially run straight ahead from the charging station for one meter so that the robotic lawnmower can park easily. When passing the cable through narrow passages, the distance to the sides should be at least 30 cm. It should be noted that the cable should not go straight up a slope but should be laid at an angle. Finally, the guide wire usually ends at the boundary wire.
If a guide wire is not present, the robotic lawnmower will drive along the boundary wire back to the charging station.
Programming the robotic lawnmower
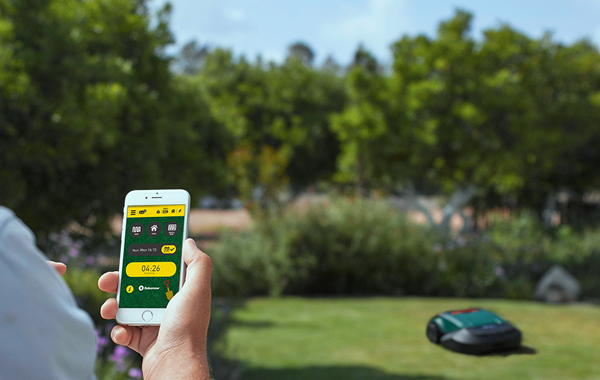
Once the perimeter wire has been laid correctly, the robot itself must also be programmed. Models with a touch screen or control via app are particularly convenient. Below are the options available on certain robotic mowers:
- Mowing times and programs
- Theft protection
- Date and time
- Cutting height
- Additional starting points can be programmed if applicable
We recommend avoiding mowing during evening hours to help protect hedgehogs and other critters. Times when children or pets are on the lawn are also not suitable for the use of the robotic lawnmower.
If your lawn consists of several different areas, it makes sense to set different starting points. In this way, the robotic lawnmower does not always start its work at the same point but rather steers the starting point in exactly the same way according to the specified area in m² or percent.
Robot lawnmower starts automatically after loading
If the robotic lawnmower is properly programmed, fully charged and the induction loop is ready for operation, the robot will automatically start the first mowing operation when the entered mowing time is reached. Alternatively, you can press the start button manually.
Keep an eye on the robotic lawnmower during its first few trips and check that the distances specified by the perimeter wire are correct. The device should not cut into flower beds nor should it leave larger lawn edges that you will have to subsequently retouch with a lawn trimmer.
ALTERNATIVE INSTALLATION SERVICE
If you do not want to invest the time to install your robotic lawnmower, most manufacturers and 3rd part providers also offer their own installation service. A professional can come to your home and take care of the installation of the charging station, laying of the boundary wire and programming of the robotic lawnmower. This is followed by a test run to be sure that the robot really works as it should. Finally, a briefing on the operation of the device is mandatory.
The cost of the installation service depends on the size of the garden as well as the above-ground or underground installation. You might even be charged for travelling expenses. Overall, the cost usually includes: travel, unpacking and assembling the robotic lawnmower, laying the boundary wire and, if applicable, the guide wire, setup and programming, a trial run and instruction on how to operate the robot.
The initial installation of the robotic lawnmower takes a few hours, but in principle it is very simple. A quick guide with the individual installation steps can also be found here: Getting Started Guide or video
Products
Buy a Robomow
Robomow owner
About us
Sales & Support